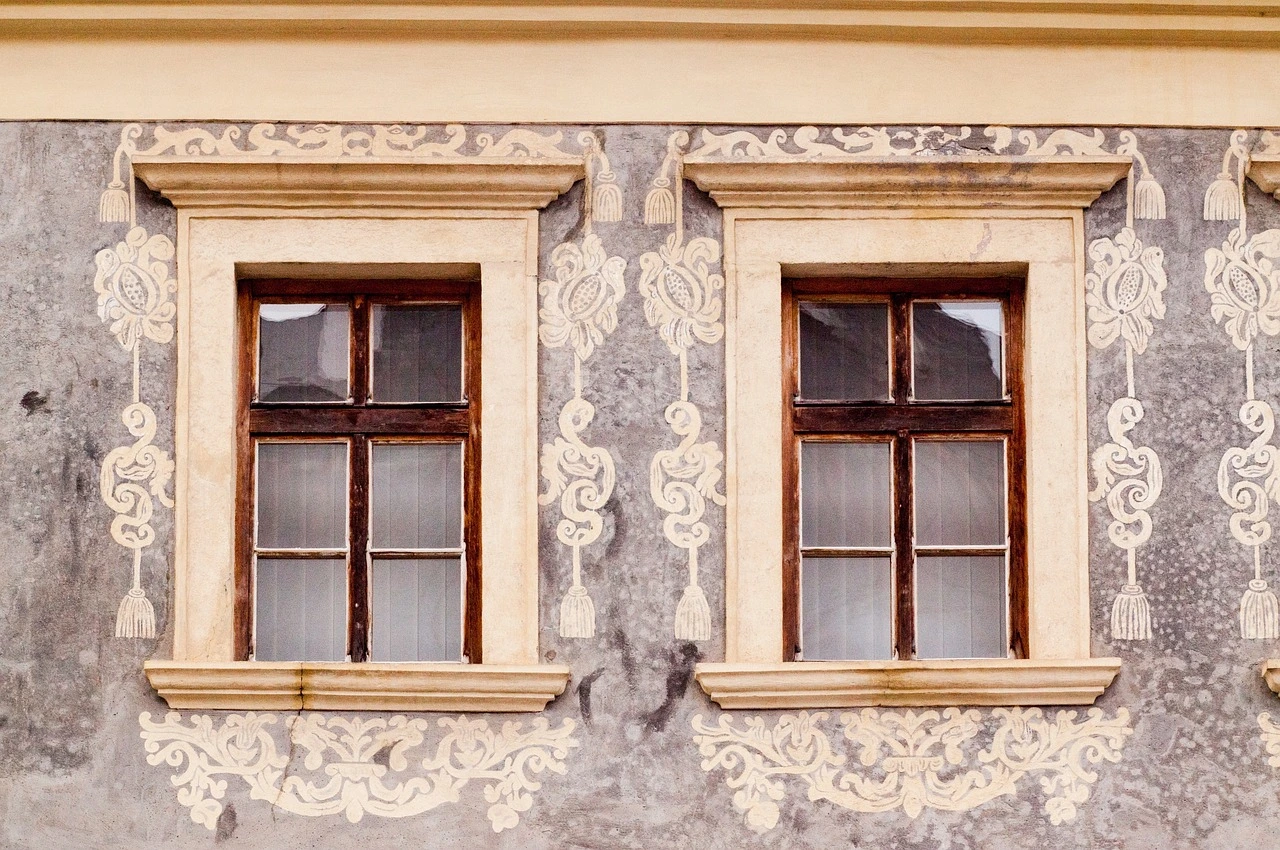
The windows in your house are more than just portals to the outside world. They’re storytellers, whispering tales of bygone eras and lending character to your abode. But let’s face it, sometimes those whispers turn into frustrating drafts, and the character becomes, well, a bit chipped and creaky.
Fear not, fellow history enthusiasts and budget-conscious homeowners! Before you consider replacing those charming old windows with soulless vinyl squares, there’s a world of possibility waiting in the realm of restoration. Here’s a comprehensive guide to “How to Restore Old Windows in a House?”
Step 1: Assess the Damage – Friend or Foe?
The first step is detective work. Grab your magnifying glass (or, you know, a good pair of reading glasses) and become familiar with the state of your windows. Are we talking about minor nicks and peeling paint, or are we diving into repairs for rot and missing chunks?
- Minor Flaws: Cracked putty, peeling paint, and loose hardware are all fixable with a little TLC.
- Major Damage: Extensive rot, warped frames, or shattered glass might be best left to the professionals.
Step 2: Gather Your Restoration Arsenal
Now that you know your enemy (or, shall we say, the window’s imperfections), it’s time to assemble your restoration army! Here’s a basic rundown of the tools and materials you’ll likely need:
- Safety Gear: Safety glasses, gloves, and a dust mask are essential.
- Cleaning Crew: Drop cloths, rags, mineral spirits (for paint removal), and a good wood cleaner.
- The Fixers: Wood filler, epoxy (for minor cracks), wood glue, and glazier’s putty.
- Sanding Squad: Sandpaper in various grits (from coarse to fine) and a sanding block.
- Painting Posse: High-quality exterior paint specifically for windows, primer (if needed), and paint brushes.
- Glazing Gladiators: Glazier’s points (those little triangular nails), a putty knife, and a glass cutter (if replacing glass).
Step 3: The Great Striptease – Unveiling the Bare Beauty
Alright, with your tools at hand, it’s time to get down to business. The first step usually involves removing the window sash (the movable part) from the frame. Consult a handy online guide or your trusty homeowner’s manual if you’re unsure how to do this for your specific window style.
Once the sash is free, it’s time to tackle the paint. Chemical paint strippers can be messy and harsh, so consider using a heat gun for a more user-friendly approach. Safety note: Always follow the manufacturer’s instructions when using a heat gun, and be extra cautious around older windowpanes, as heat can cause them to crack.
Step 4: Carpentry Bootcamp – Filling the Gaps
Now that your windows are bare, you can assess any repairs needed. Minor cracks can be filled with epoxy, while larger gaps might require wood filler. Be sure to choose a filler appropriate for exterior use.
For missing chunks or severely rotted areas, you might need to replace the damaged wood with a matching piece. This can get a little more intricate, so if you’re feeling overwhelmed, don’t hesitate to seek help from a professional carpenter.
Step 5: Sanding Symphony – Smoothing the Way
Once the repairs are cured, it’s time to prep the surface for painting. Grab your trusty sandpaper and sanding block, and get ready to create a smooth canvas. Start with a coarse grit to remove any imperfections and leftover paint, then gradually progress to finer grits for a polished finish.
Step 6: Painting Party – A Splash of Color
Now comes the fun part – adding a pop of personality with paint! But before you unleash your inner artist, make sure to apply a coat of primer suitable for exterior use. This will help the paint adhere better and provide an extra layer of protection for your windows.
When choosing paint, opt for a high-quality exterior paint specifically formulated for windows. These paints are more resistant to weather damage and chipping. Apply two thin coats for the best results, allowing sufficient drying time between each coat.
Step 7: The Glazing Gala – Securing the Shiny Bits
- Replacing Glass: Carefully measure the opening and use a glass cutter to create a perfectly sized replacement pane. Wear gloves and safety glasses for this step!
- Re-sealing Panes: If the existing glass is salvageable but needs a new seal, remove the old glazing putty with a putty knife. Be gentle around the glass edges to avoid any cracks. Apply a fresh bead of glazier’s putty around the perimeter of the glass pane, using a putty knife to smooth it out to a neat, angled finish.
Step 8: Hardware Hootenanny – Putting it All Together
Once the paint is dry and the glazing is cured, it’s time to reassemble your masterpiece! Carefully reinstall the window sash into the frame, ensuring smooth operation and proper alignment.
Replace any worn-out window hardware like latches, lifts, or pulleys. A little bit of fresh lubricant can also go a long way in ensuring the smooth operation of your restored windows.
Step 9: The Big Reveal – Enjoying the Fruits of Your Labor
Step back and admire your handiwork! You’ve not only saved money by restoring your windows yourself, but you’ve also preserved a piece of your home’s history and character.
Embrace the Imperfections
One of the beauties of restored windows is that they often retain a touch of their past. Don’t strive for absolute flawlessness – a few minor imperfections can add to the charm and tell the story of their journey. If you want to know about: “Can a Burned House Be Restored?” Please visit our blog page today to learn all about it!
Going the Extra Mile: Professional Help When Needed
While this guide empowers you to tackle a DIY window restoration project, there’s no shame in seeking professional help when needed. Here are some situations where consulting a professional might be wise:
- Extensive rot damage: Replacing large sections of rotted wood requires carpentry expertise.
- Specialty windows: Stained glass windows or intricate historical styles might be best left to experienced restoration specialists.
- Lead paint concerns: If you suspect your windows have lead paint, it’s crucial to hire a professional abatement contractor who can safely remove it.
If you’re looking for a reliable company that provides home restoration services, just give TK Painting and Restoration a call. Our experts are just a phone call away to help with your restoration needs.
The Final Word: Breathe Easy and Enjoy the View
Restoring your old windows is an investment in your home’s beauty, energy efficiency, and historical value. With a little planning, the right tools, and a touch of elbow grease, you can breathe new life into these silent storytellers and enjoy the view for years to come. Love your historic home, but tired of the drafts and peeling paint? Don’t settle for replacement windows that lack character! TK Painting and Restoration can breathe new life into your vintage windows, preserving their charm and boosting your home’s energy efficiency. Call TK today for a free consultation and see how we can make your old windows shine again!